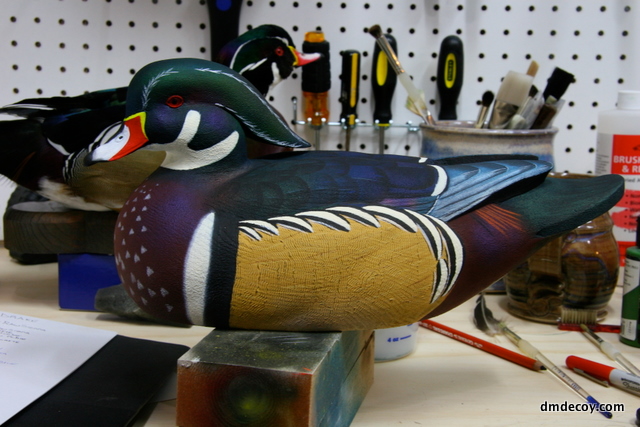
Cutting out a decoy blank
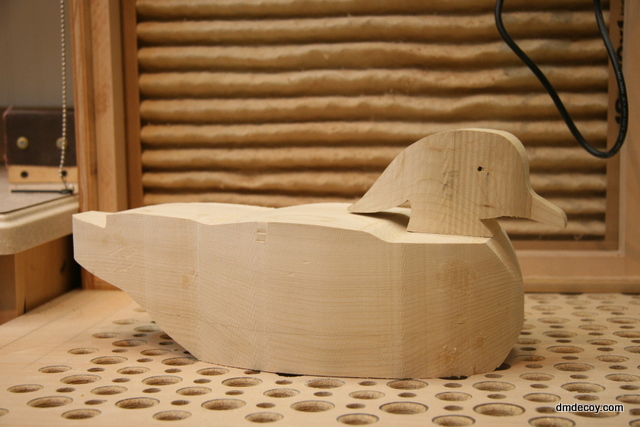
I start with a piece of wood or cork — in this demo, white cedar, already jointed and planed flat and square. While cutting the blank on the bandsaw, any imperfection is magnified the thicker and wider the block.
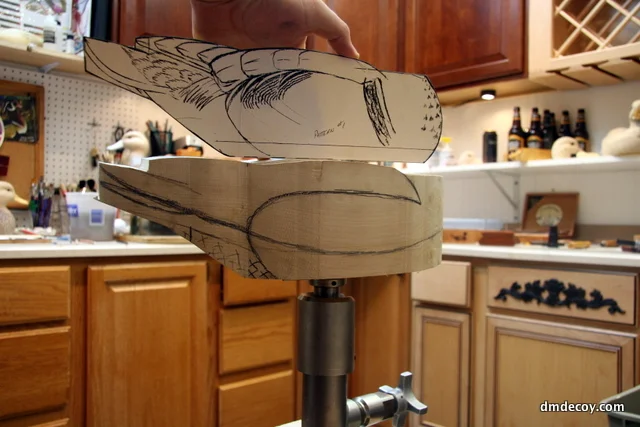
I draw the side and top profile patterns on, cut a hollow line while the block is still square, then screw the two halves back together so I can carve them as one piece before bandsawing the top and side profiles.
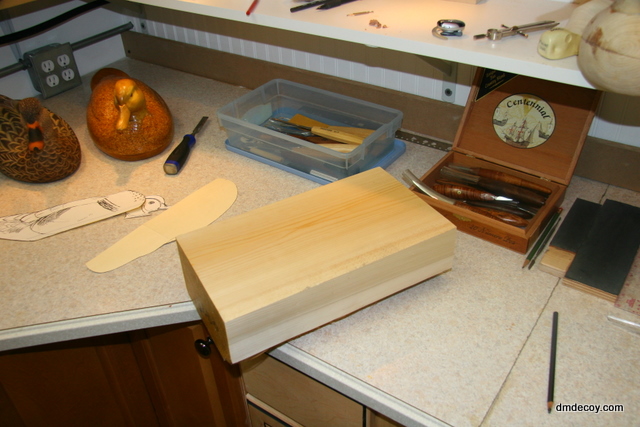
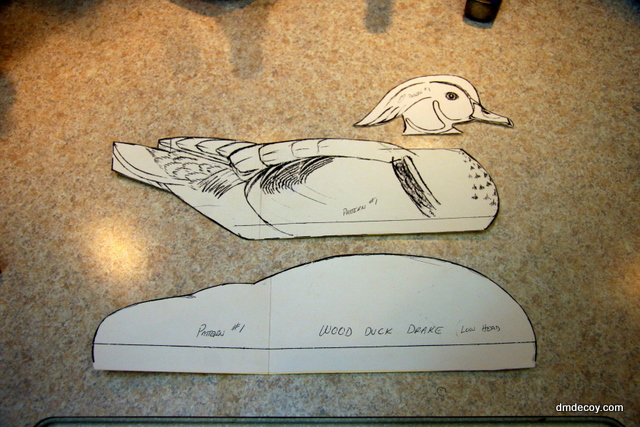
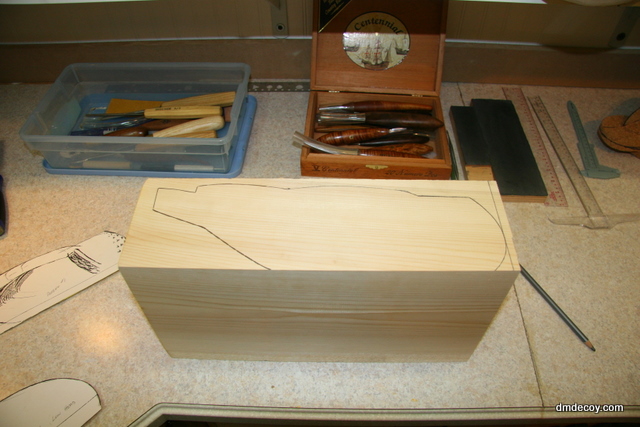
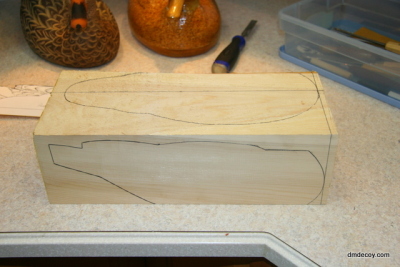
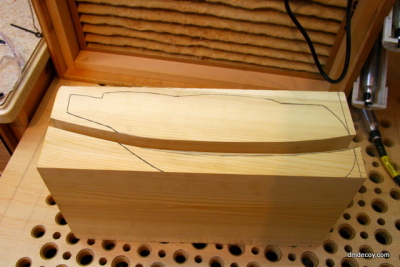
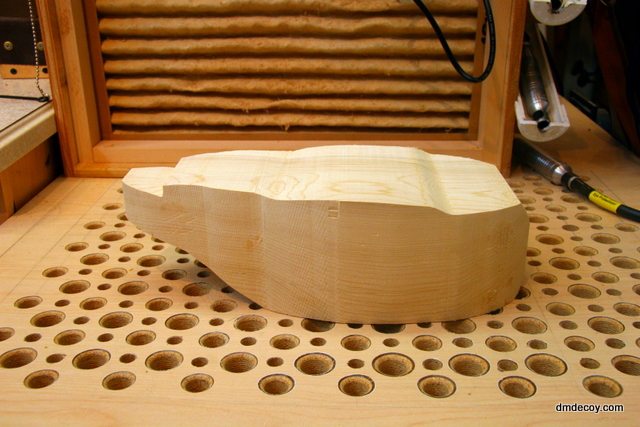
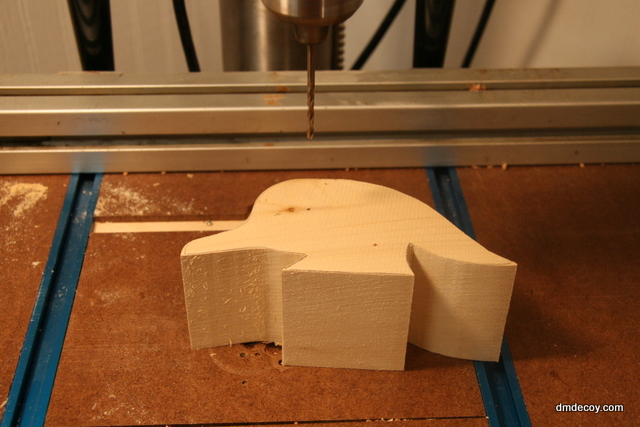
Cutting out the head
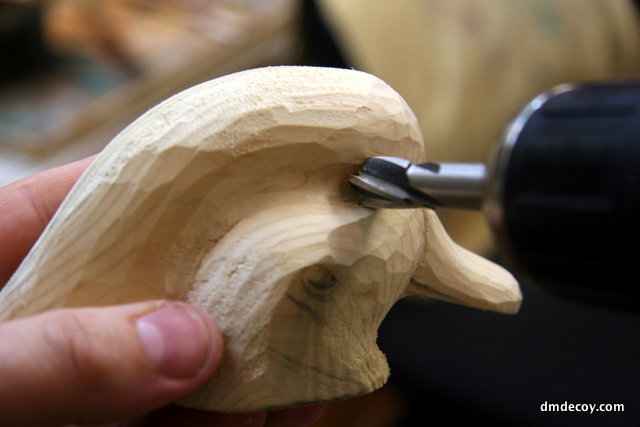
I pick a smaller piece of white cedar, cut to final width, making sure the grain runs parallel to the bill. I drill the eye holes straight through while the head is still square — much easier than measuring each side individually — then draw the top profile using a molded taxidermy bill as reference.
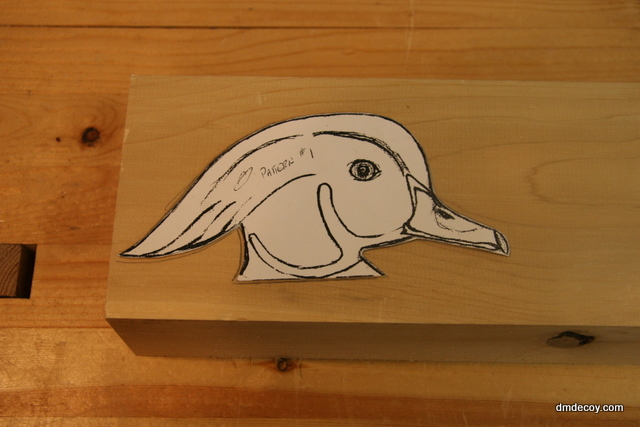
Carving the head
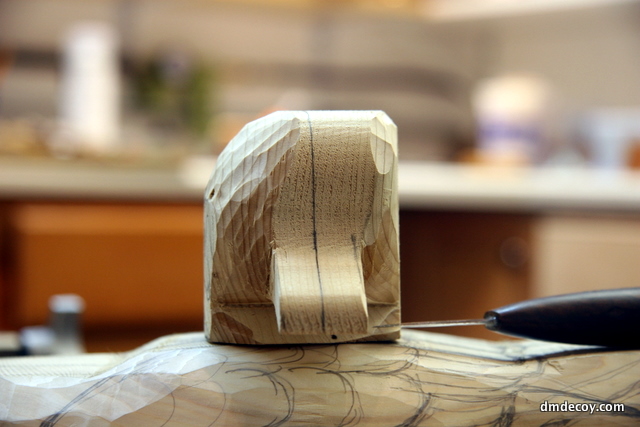
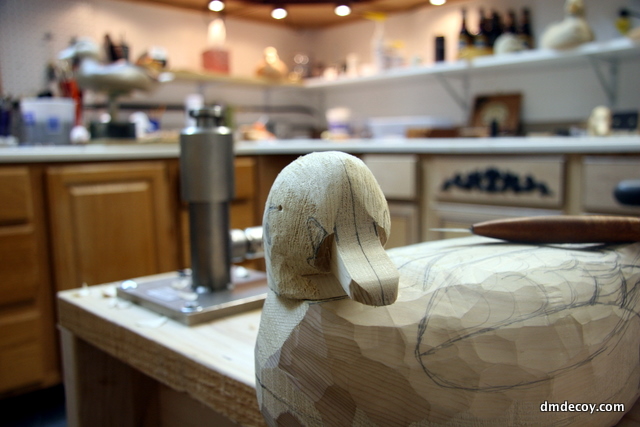
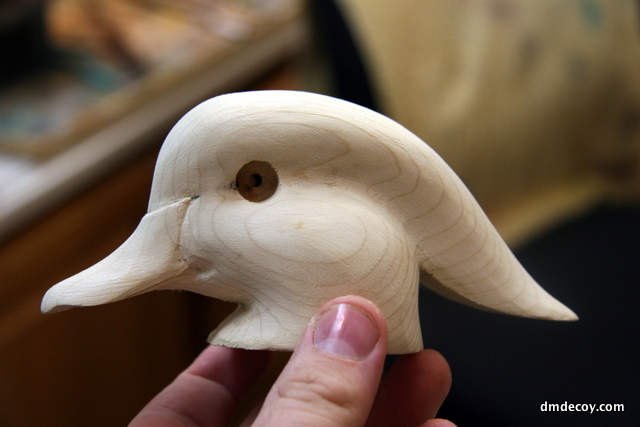
With the side and top profiles cut, I round the top of the head down to the center-line, being careful not to cut into it. Using a study bill for measurements, I shape the bill, cut the eye channel, and blend everything together before sanding smooth.
Rough carving the body
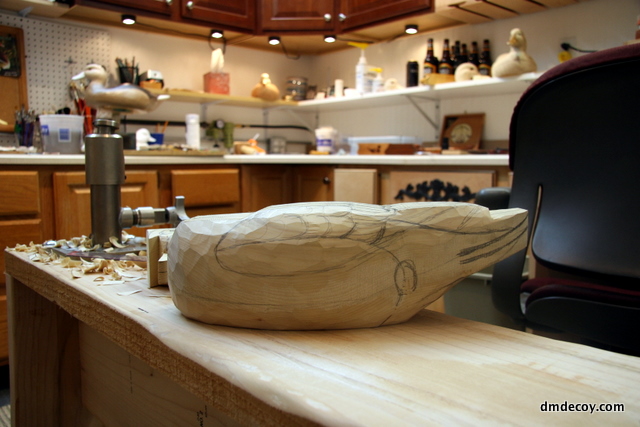
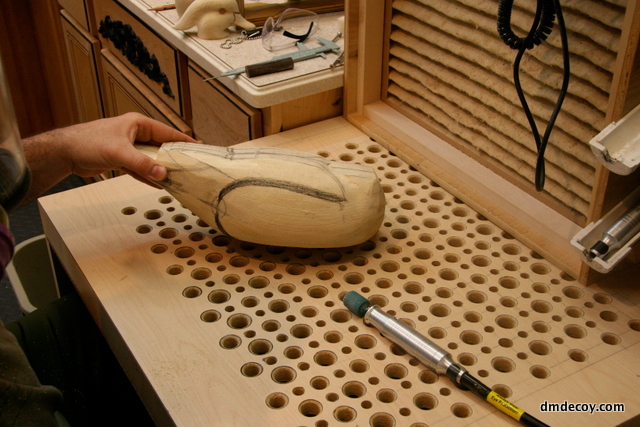
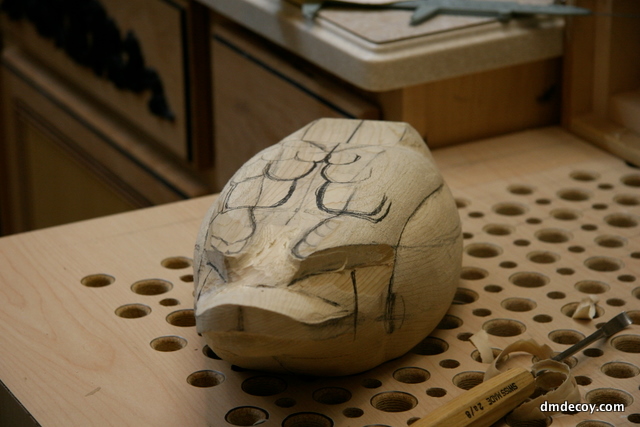
I transfer critical measurements — tail, water line, side pocket — to the blank, drawing and redrawing feather groups as I carve, refining the lines each time. Using a draw knife, I round the bottom from the water line down to the mark on the bottom, and the decoy starts to take on its rounded shape.
Adding details to the body
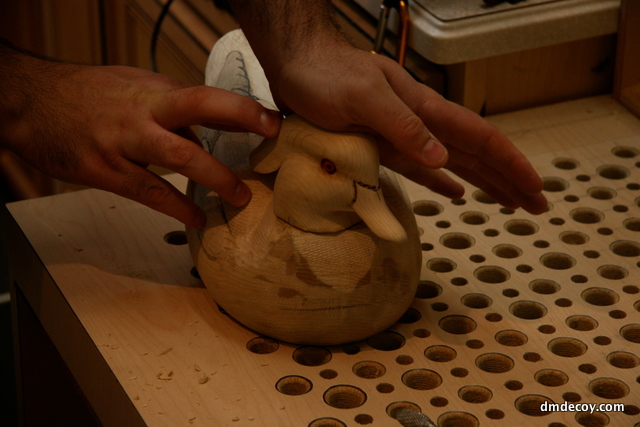
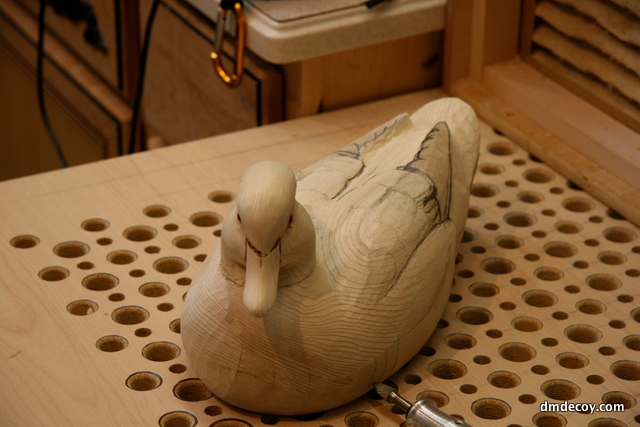
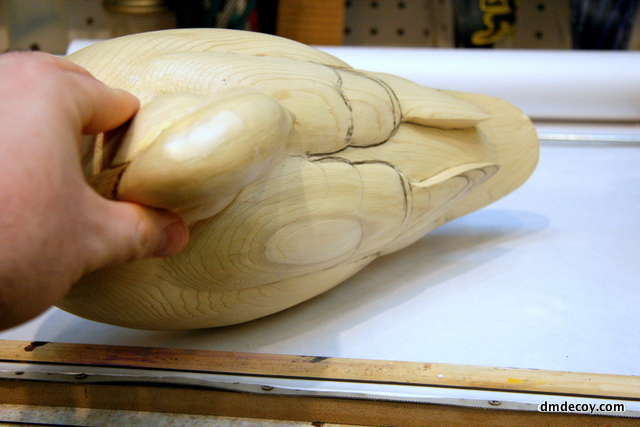
With the bird generally round, I cut in the side pockets with a square carbide bit, then define the primary feathers, working back and forth from one side to the other to keep things symmetrical. I temporarily dowel and hot-glue the head on so I can shape the neck and breast — the decoy is now roughly carved and ready to be hollowed.
Hollowing the body
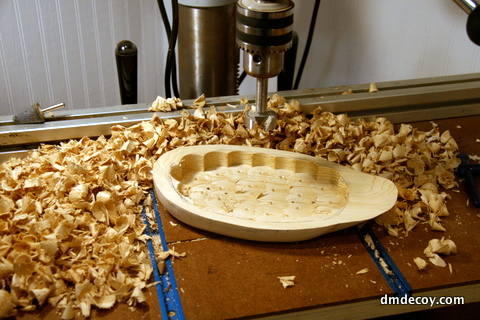
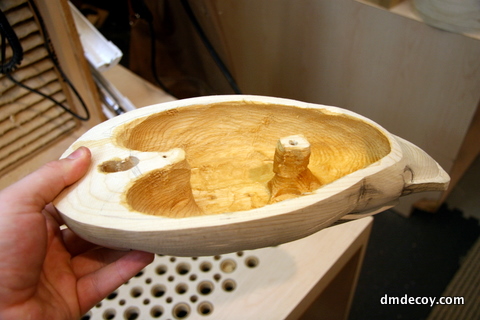
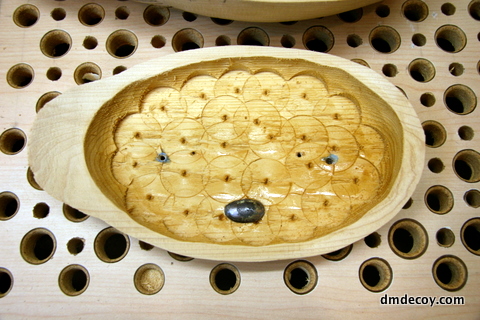
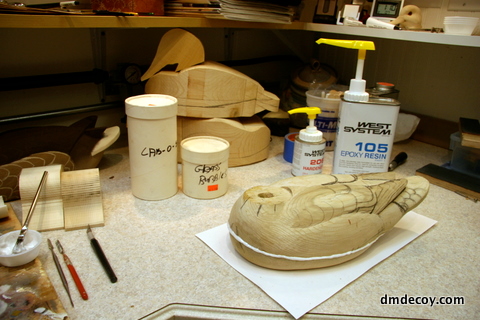
Since the two halves were only ever screwed together, I remove the screws and drill out the bottom with a forstner bit, then a coarse Kutzall ball bit for the rest. I leave extra wood at the front to support the head dowel and to sink weight into if needed. Both halves get sealed with Zinsser SealCoat shellac, then reassembled with WEST marine epoxy thickened with glass bubbles and cab-o-sil — a slow hardener gives plenty of working time before I screw the halves back together to cure.
Setting eyes
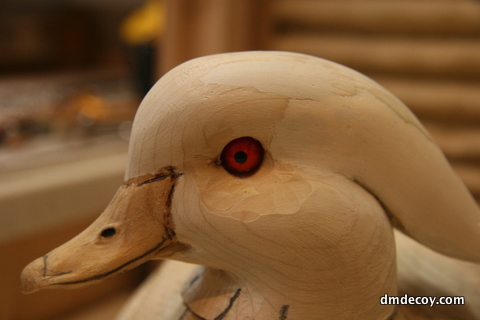
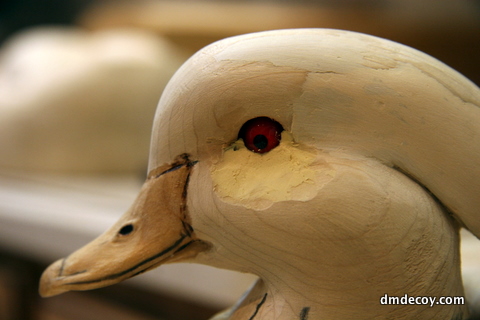
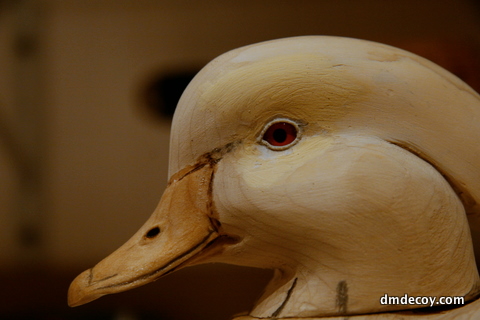
I insert the eyes at the correct angle, holding them with modeling clay and a dowel rod carved with a concave end so I can set them angled slightly forward and down. I fill under and above the eye with exterior-grade wood putty, shape it with an exacto knife once dry, then build the eye ring with Apoxy Sculpt and sand carefully around the glass.
Finish carving
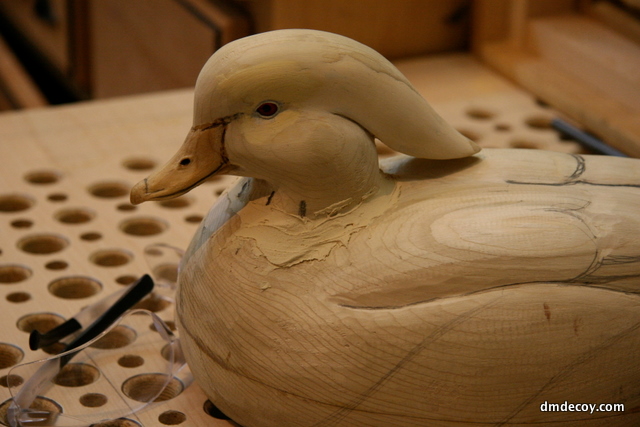
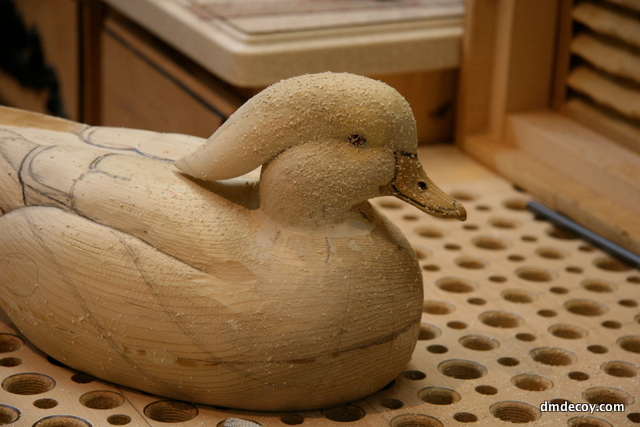
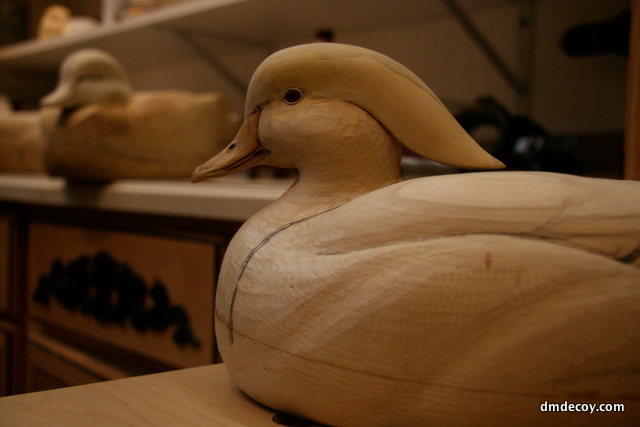
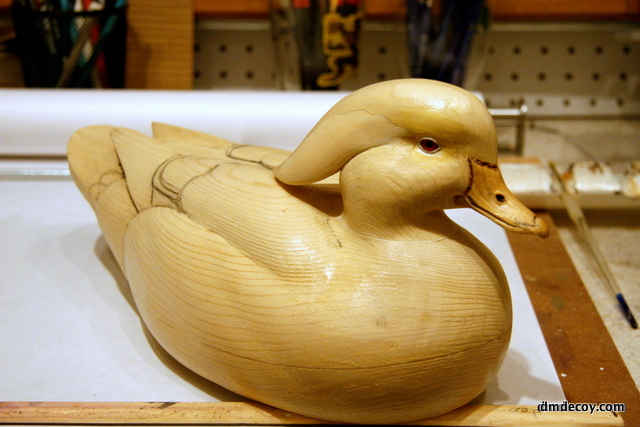
With the eyes set and body hollowed, I permanently attach the head with Tuf-Carve, using a dowel peg for alignment and strength. I blend the neck line until the head-body seam is undetectable, carve the hourglass curve of the neck, and add a couple of shallow grooves to the sides for texture and shadow that's felt more than seen. After a few days of just looking at it and noting anything to fix, I sand and seal — ready for paint.
Texture and base coat
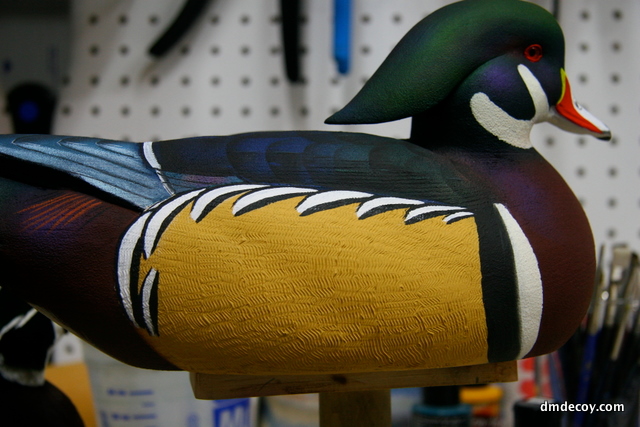
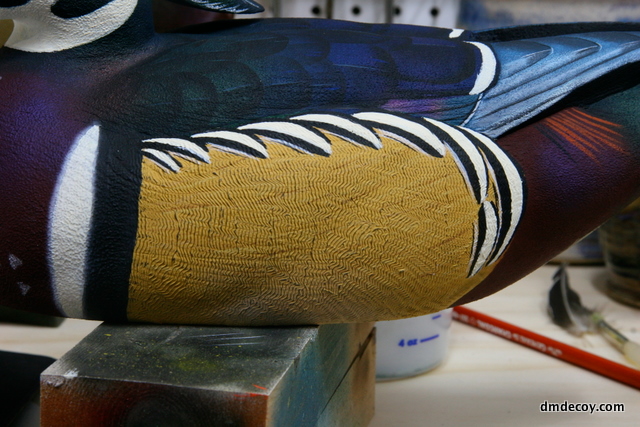
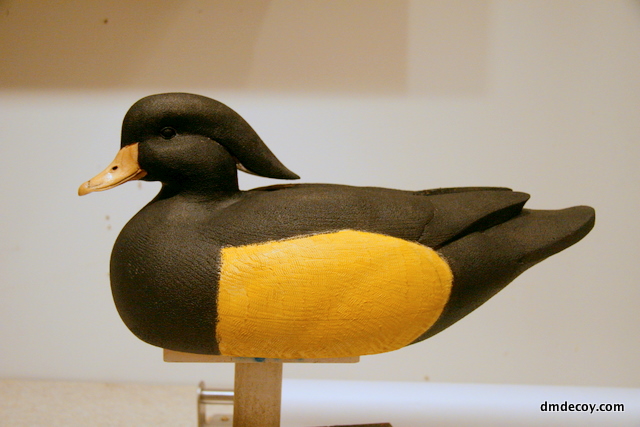
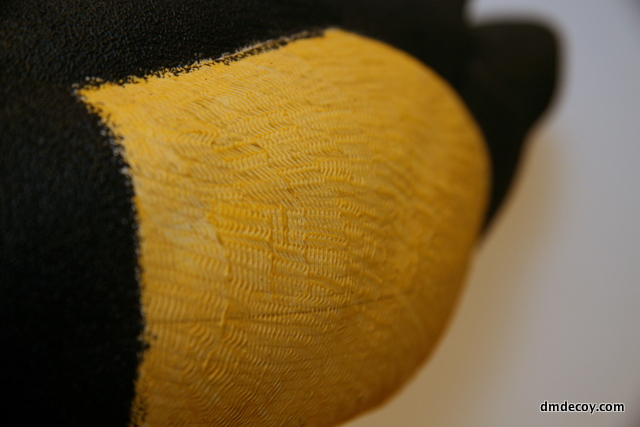
To soften the bird's appearance, I apply Jansen texture medium tinted with black paint (dark tints hide wear better than light ones), stippled on with foam for a bumped-up texture, and combed through a thicker mix on the side pockets to simulate a wood duck's vermiculated feathers. Once dry, a green scotch-brite knocks down the high spots. Base coat colors go on together on a party-tray palette so adjacent colors can be wet-blended with a deer-foot stipple brush before anything dries hard.
Painting the tail and back
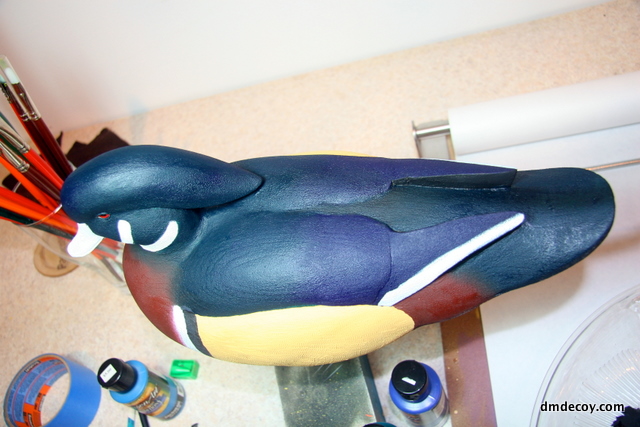
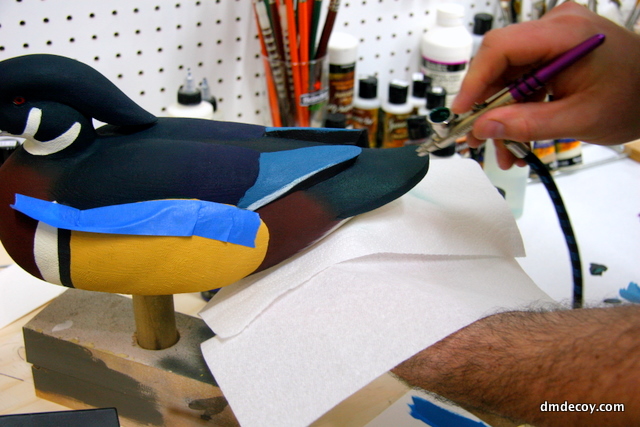
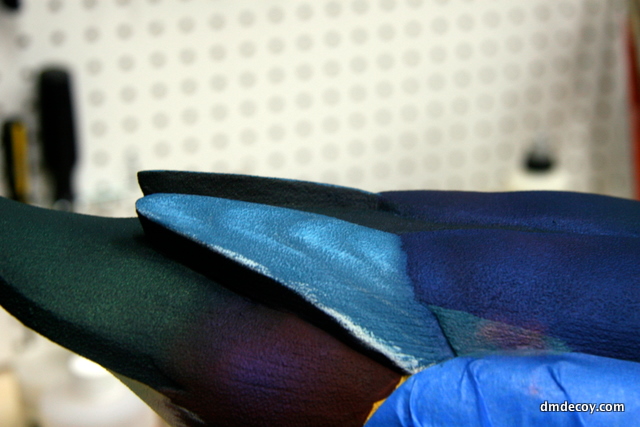
Working from rear to front, I airbrush the rump's green, brown, and white feather groups, then add feather barbs and brown splits with a round brush so the white feathers appear to overlap the brown. Chroma interference paints, misted on lightly, bring iridescence to the green and blue areas. Using templates and a charcoal pencil, I lay out and paint the primary and scapular feathers, darkening one half of each feather to capture how light falls across a real wood duck's back.
Completing the painting
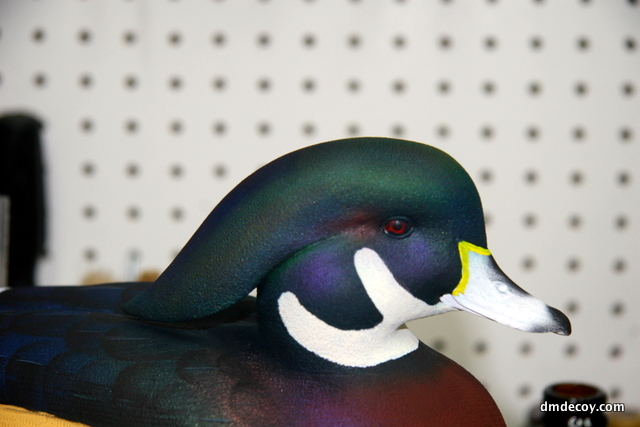
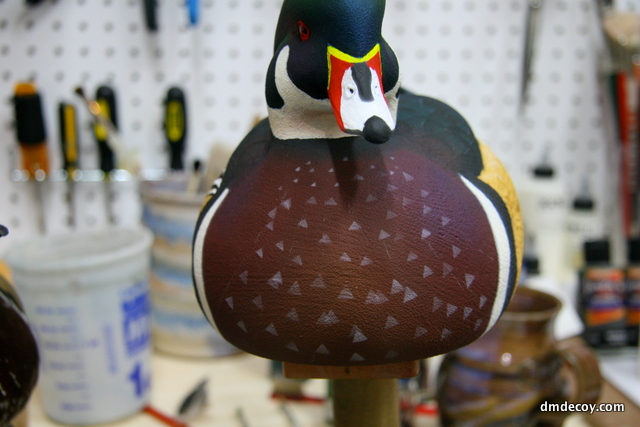
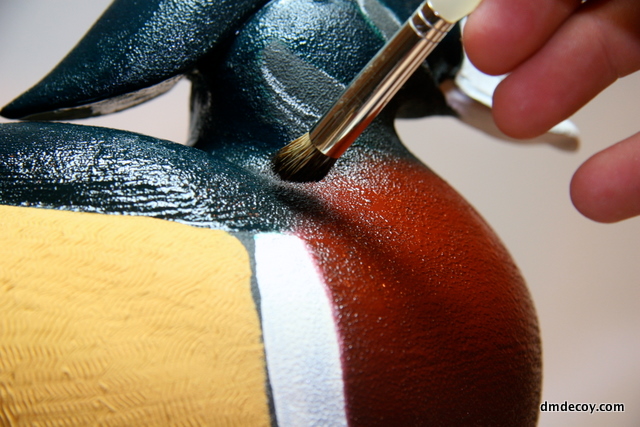
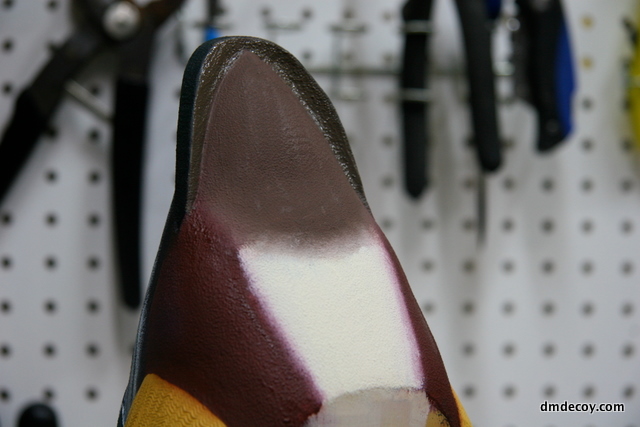
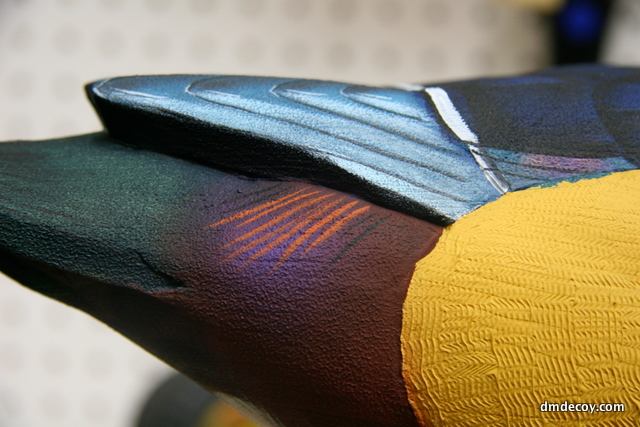
The bill gets painted alongside the finished head colors, then it's on to the side pockets, streaking lighter and darker values along the feather flow, and the black-and-white pattern at the top of the pocket. On the chest, an airbrushed yellow-oxide highlight gets blended with a burgundy mix, then triangular feather templates and a fine round brush build up the breast detail. A final dry-brush of dark brown over the textured side pockets simulates the vermiculated feathers, and the bird is done.